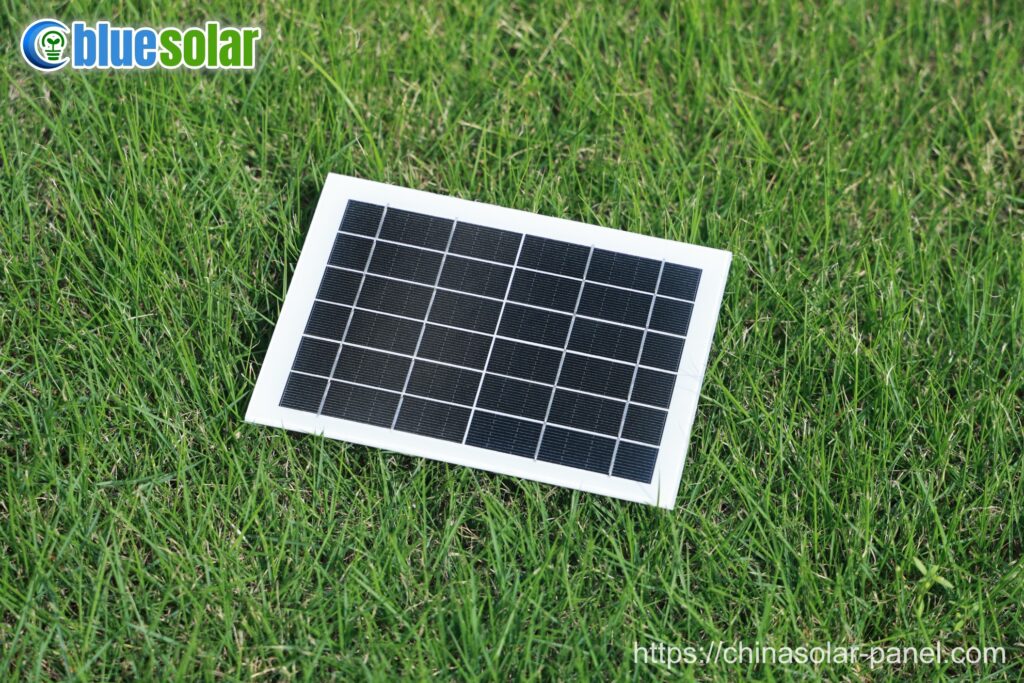
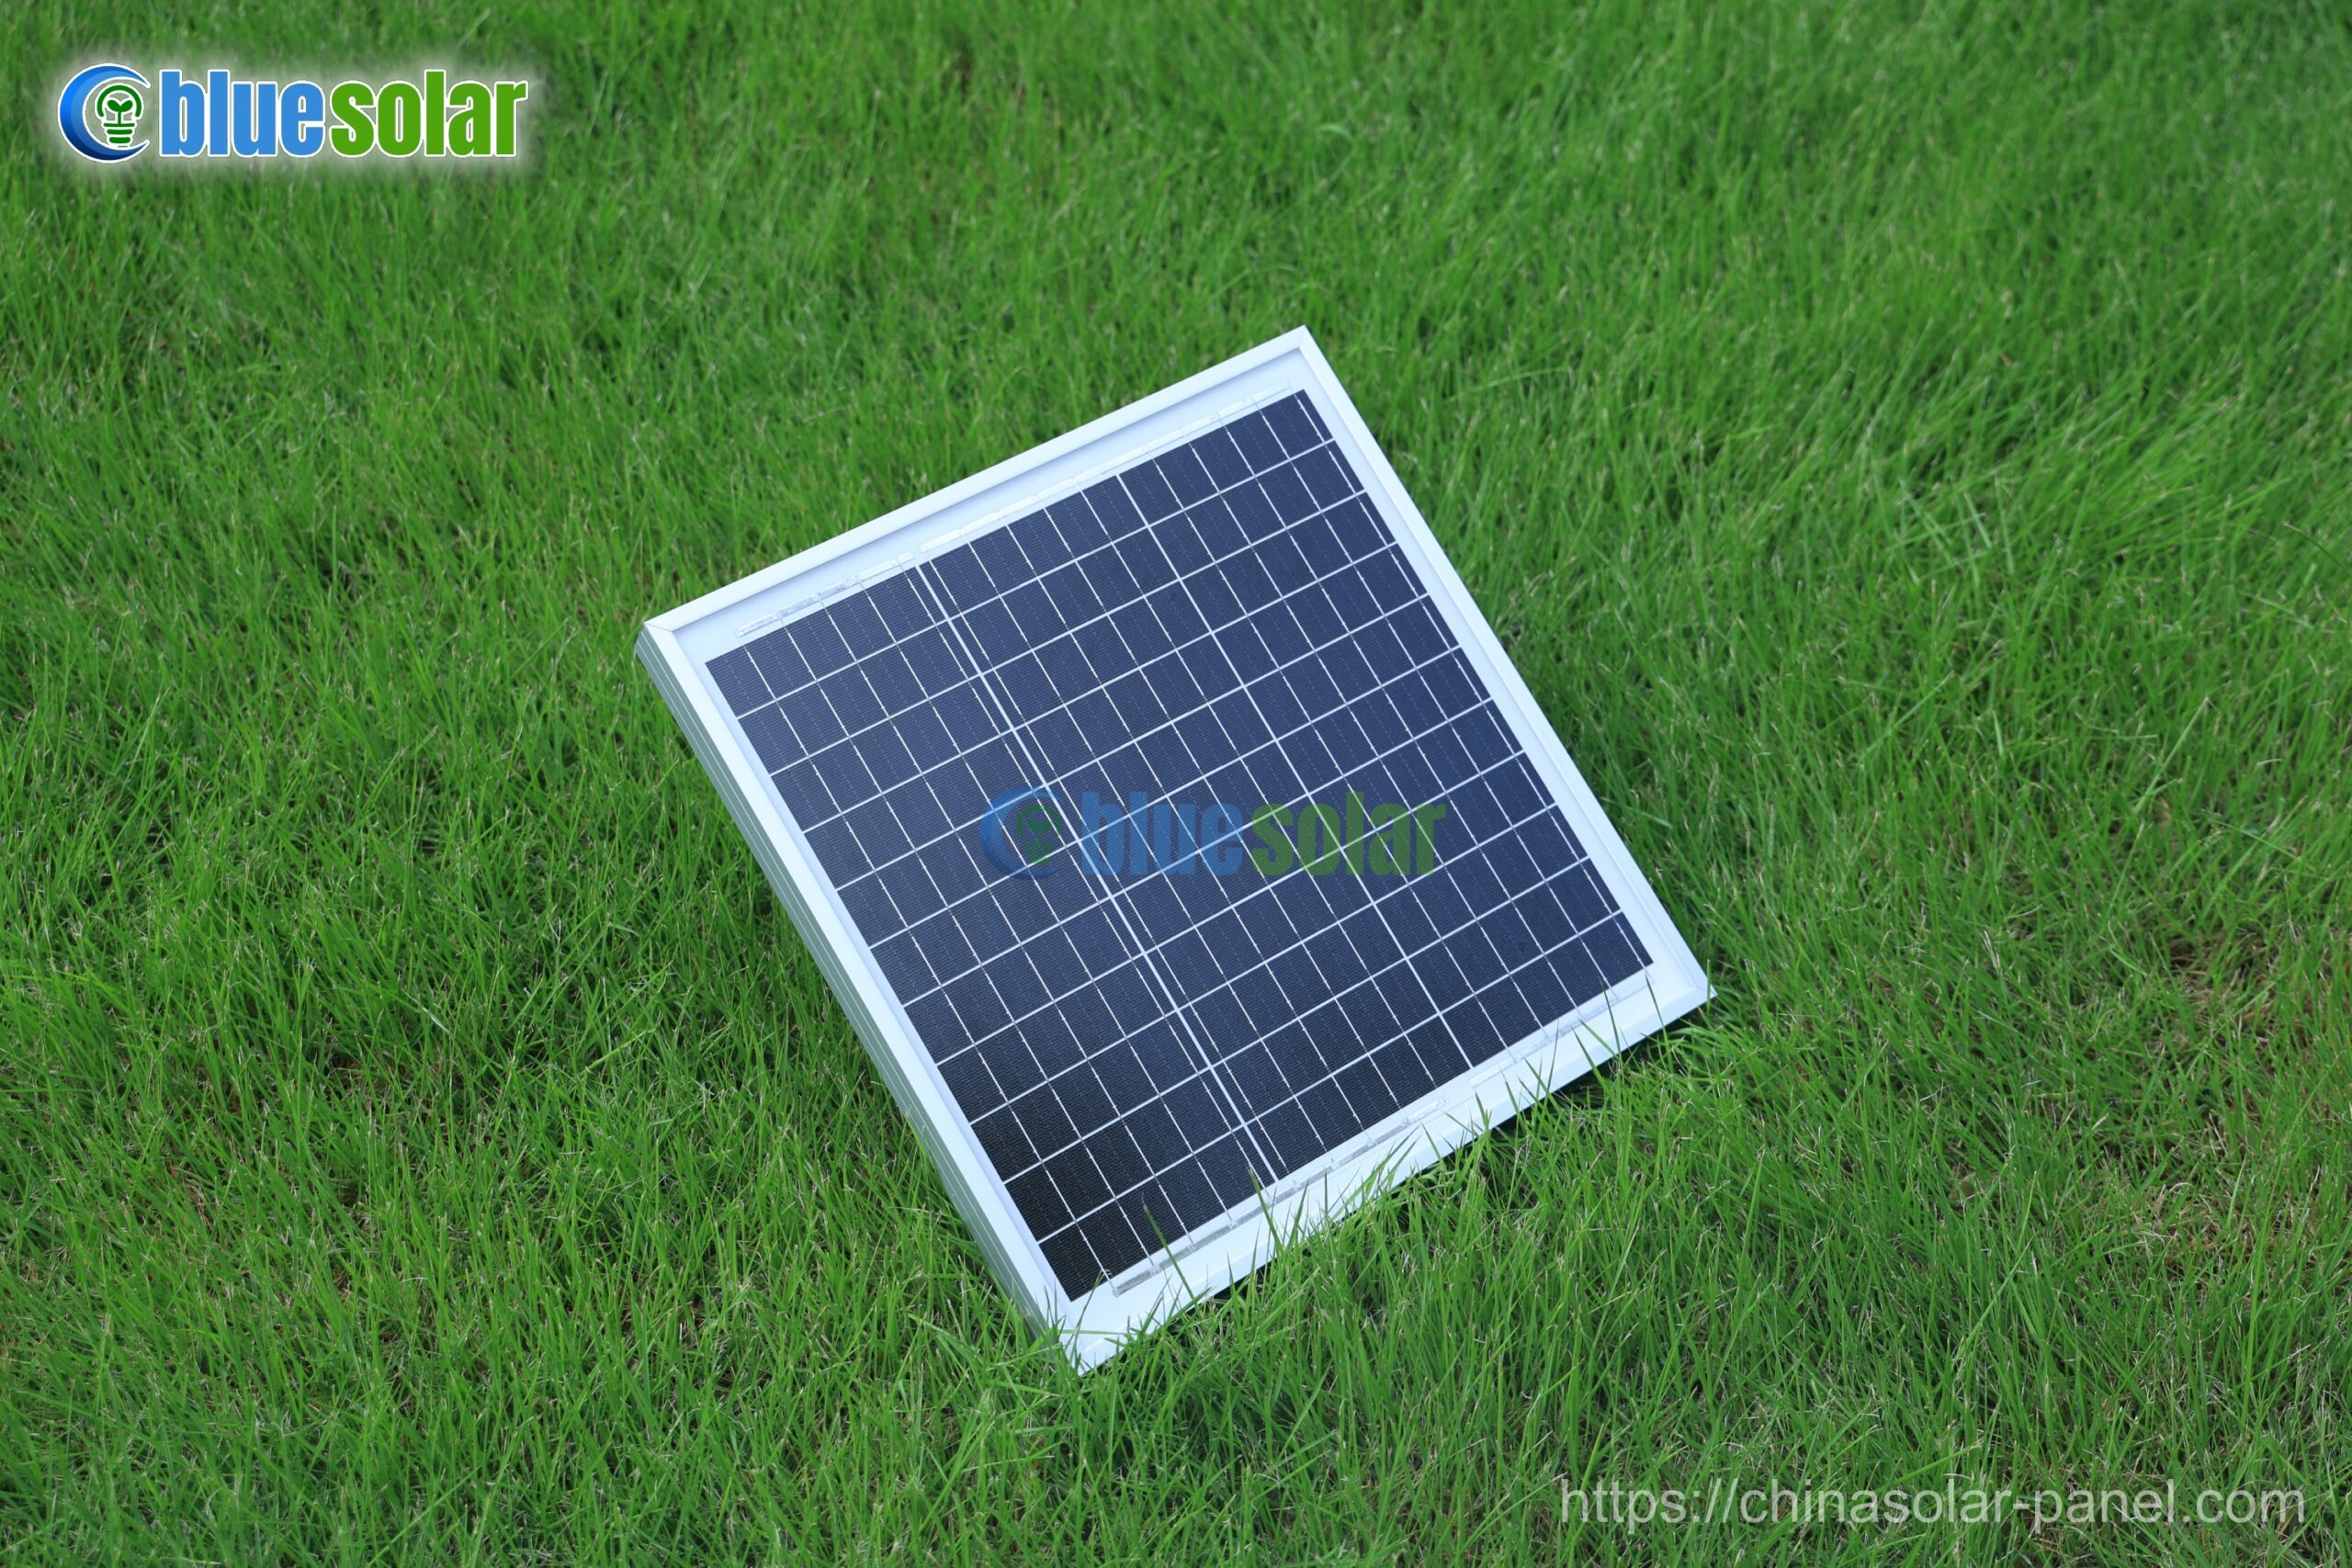
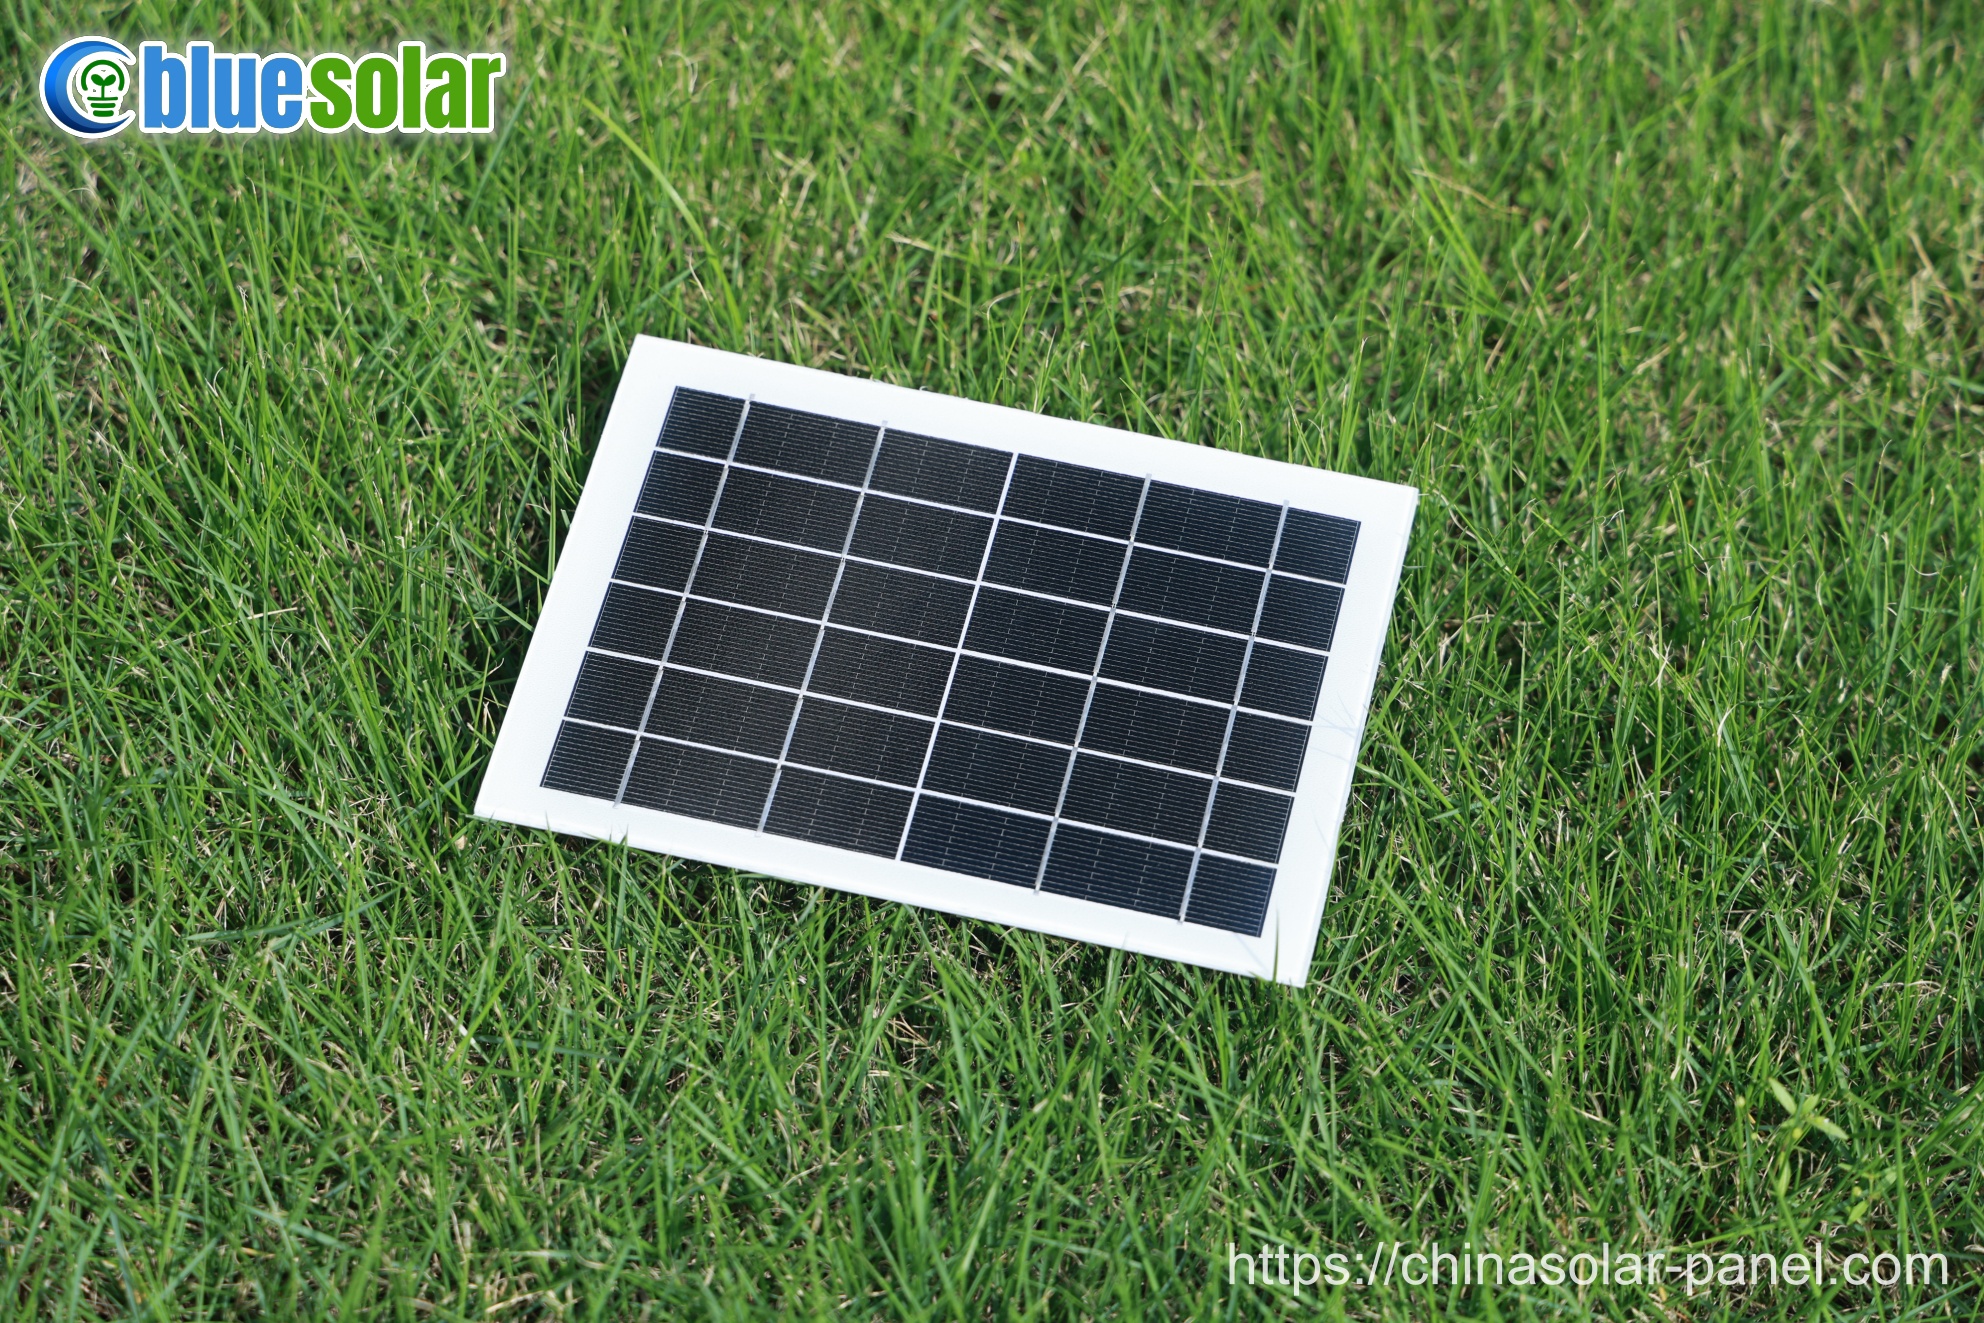
The assembly process of a crystalline silicon solar panel involves several precise steps to transform individual solar cells into a fully functional solar panel. Here’s a detailed breakdown of the process:

1. Cell Testing and Sorting
– Each solar cell is tested for electrical performance (efficiency, current, and voltage).
– Cells are sorted into groups with similar electrical characteristics to ensure uniformity in the final panel.
2. Stringing and Tabbing
– Tabbing: Thin metal strips (usually made of copper coated with solder, called tabbing ribbons) are soldered onto the front and back contacts of each solar cell.
– Stringing: The tabbed cells are connected in series by soldering the tabbing ribbons of one cell to the back of the next cell. This forms a “string” of cells.
3. Layering the Solar Panel
– Glass Layer: A sheet of tempered glass (with high transparency and durability) is placed on the bottom. This will be the front side of the panel, facing the sun.
– Encapsulant Layer: A layer of ethylene-vinyl acetate (EVA) is placed on top of the glass. EVA is a transparent, adhesive material that protects the cells and ensures proper light transmission.
– Cell Strings: The interconnected strings of solar cells are carefully placed on top of the EVA layer.
– Backsheet: Another layer of EVA is added, followed by a backsheet (usually made of a polymer like Tedlar). The backsheet provides electrical insulation and protects the panel from environmental factors.
4. Lamination
– The layered assembly (glass, EVA, cell strings, EVA, backsheet) is placed in a laminator.
– The laminator applies heat (around 140-150°C) and vacuum pressure to bond the layers together, ensuring there are no air gaps or moisture trapped inside.
– This process takes about 10-15 minutes and creates a durable, weatherproof panel.
5. Framing
– The laminated panel is framed with aluminum for structural support and durability.
– The frame protects the edges of the panel and makes it easier to mount on rooftops or other structures.
– Silicone sealant is applied to the edges to ensure a watertight seal.
6. Junction Box Installation
– A junction box is attached to the back of the panel.
– The junction box contains diodes that allow current to flow in one direction and prevent reverse current flow (which can reduce efficiency).
– The tabbing ribbons from the solar cells are connected to the junction box, which provides the electrical output terminals.
7. Cleaning and Inspection
– The panel is cleaned to remove any dust, fingerprints, or residues.
– It undergoes a visual inspection to check for defects, such as cracks, misaligned cells, or poor soldering.
8. Electrical Testing
– The panel is tested for electrical performance under standard test conditions (STC):
– Open-circuit voltage (Voc): Voltage when no load is connected.
– Short-circuit current (Isc): Current when the terminals are shorted.
– Maximum power (Pmax): The panel’s peak power output.
– These tests ensure the panel meets its specified power rating.
9. Quality Assurance and Certification
– The panel undergoes additional quality checks, including:
– Durability testing: Exposure to extreme temperatures, humidity, and mechanical stress.
– Safety certifications: Compliance with international standards (e.g., UL, IEC, TUV).
– Panels that pass these tests are certified for use.
10. Packaging and Shipping
– The finished solar panels are packed in protective materials to prevent damage during transportation.
– They are then shipped to distributors, installers, or end-users.
Summary of Key Components in a Solar Panel:
1. Solar Cells: The core component that converts sunlight into electricity.
2. Tempered Glass: Protects the cells and allows sunlight to pass through.
3. EVA Encapsulant: Bonds the layers and protects the cells.
4. Backsheet: Provides insulation and environmental protection.
5. Aluminum Frame: Adds structural strength and ease of mounting.
6. Junction Box: Manages electrical connections and output.
This assembly process ensures that crystalline silicon solar panels are efficient, durable, and ready to generate electricity for 25-30 years or more.


