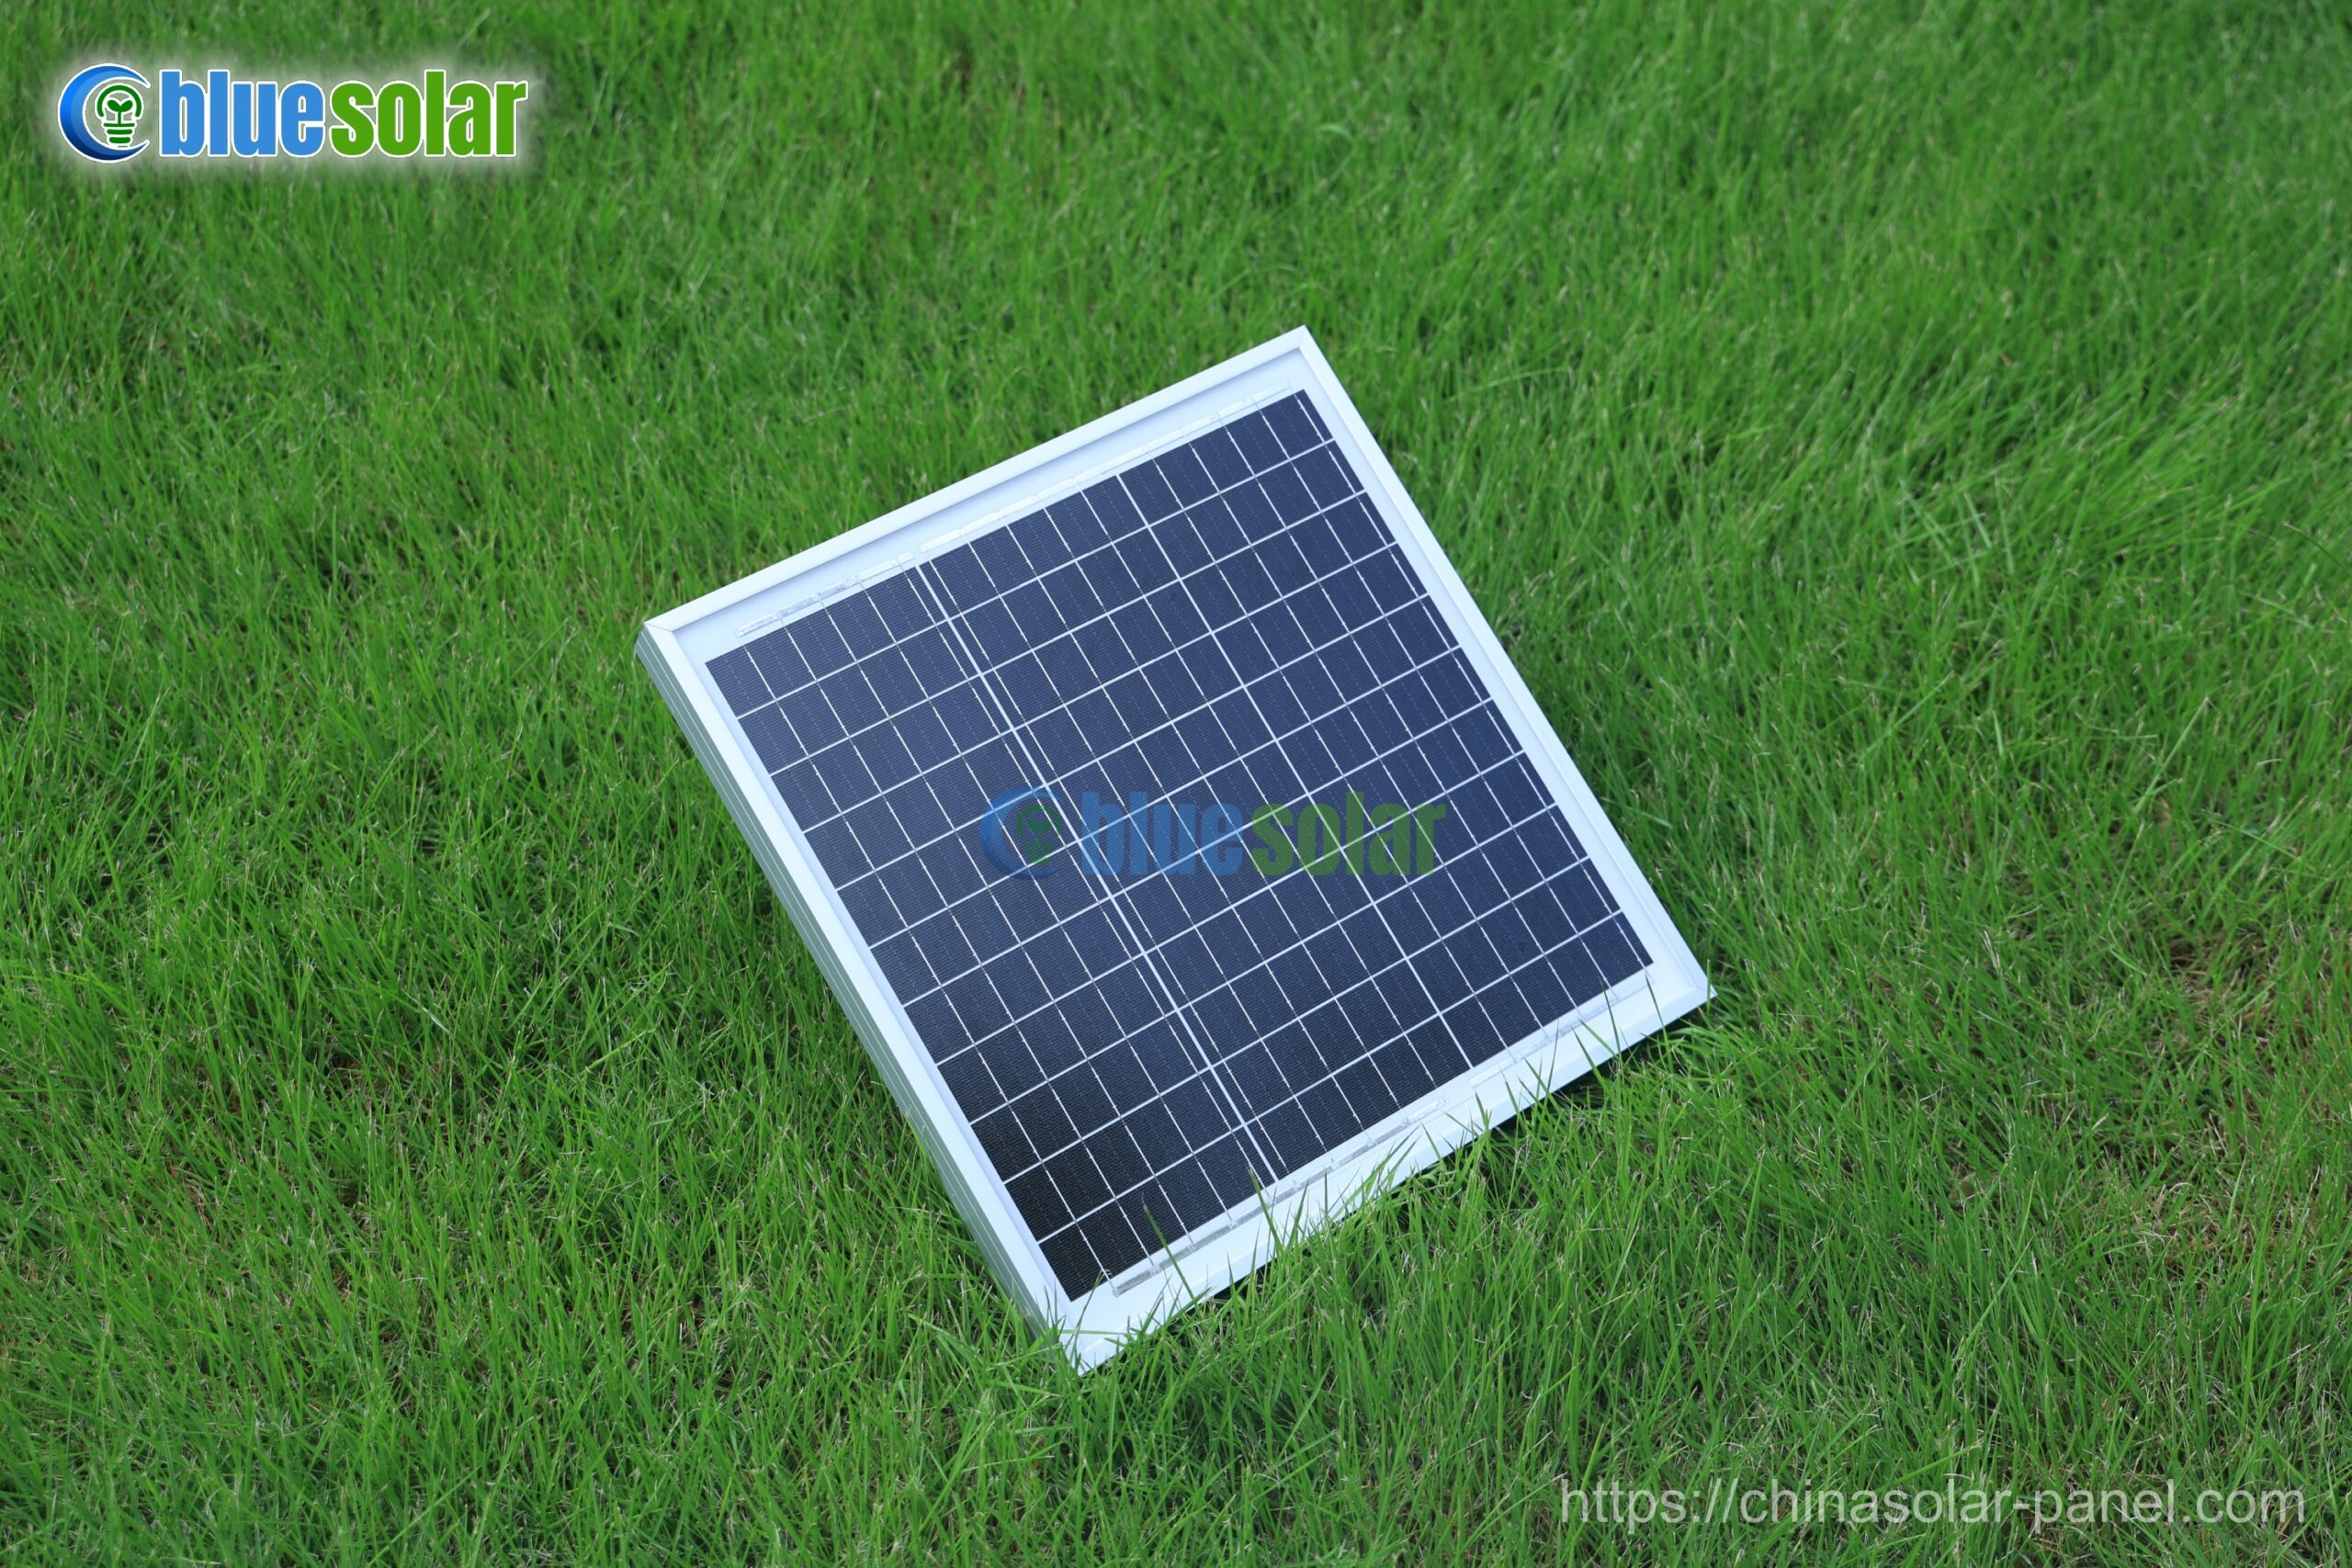
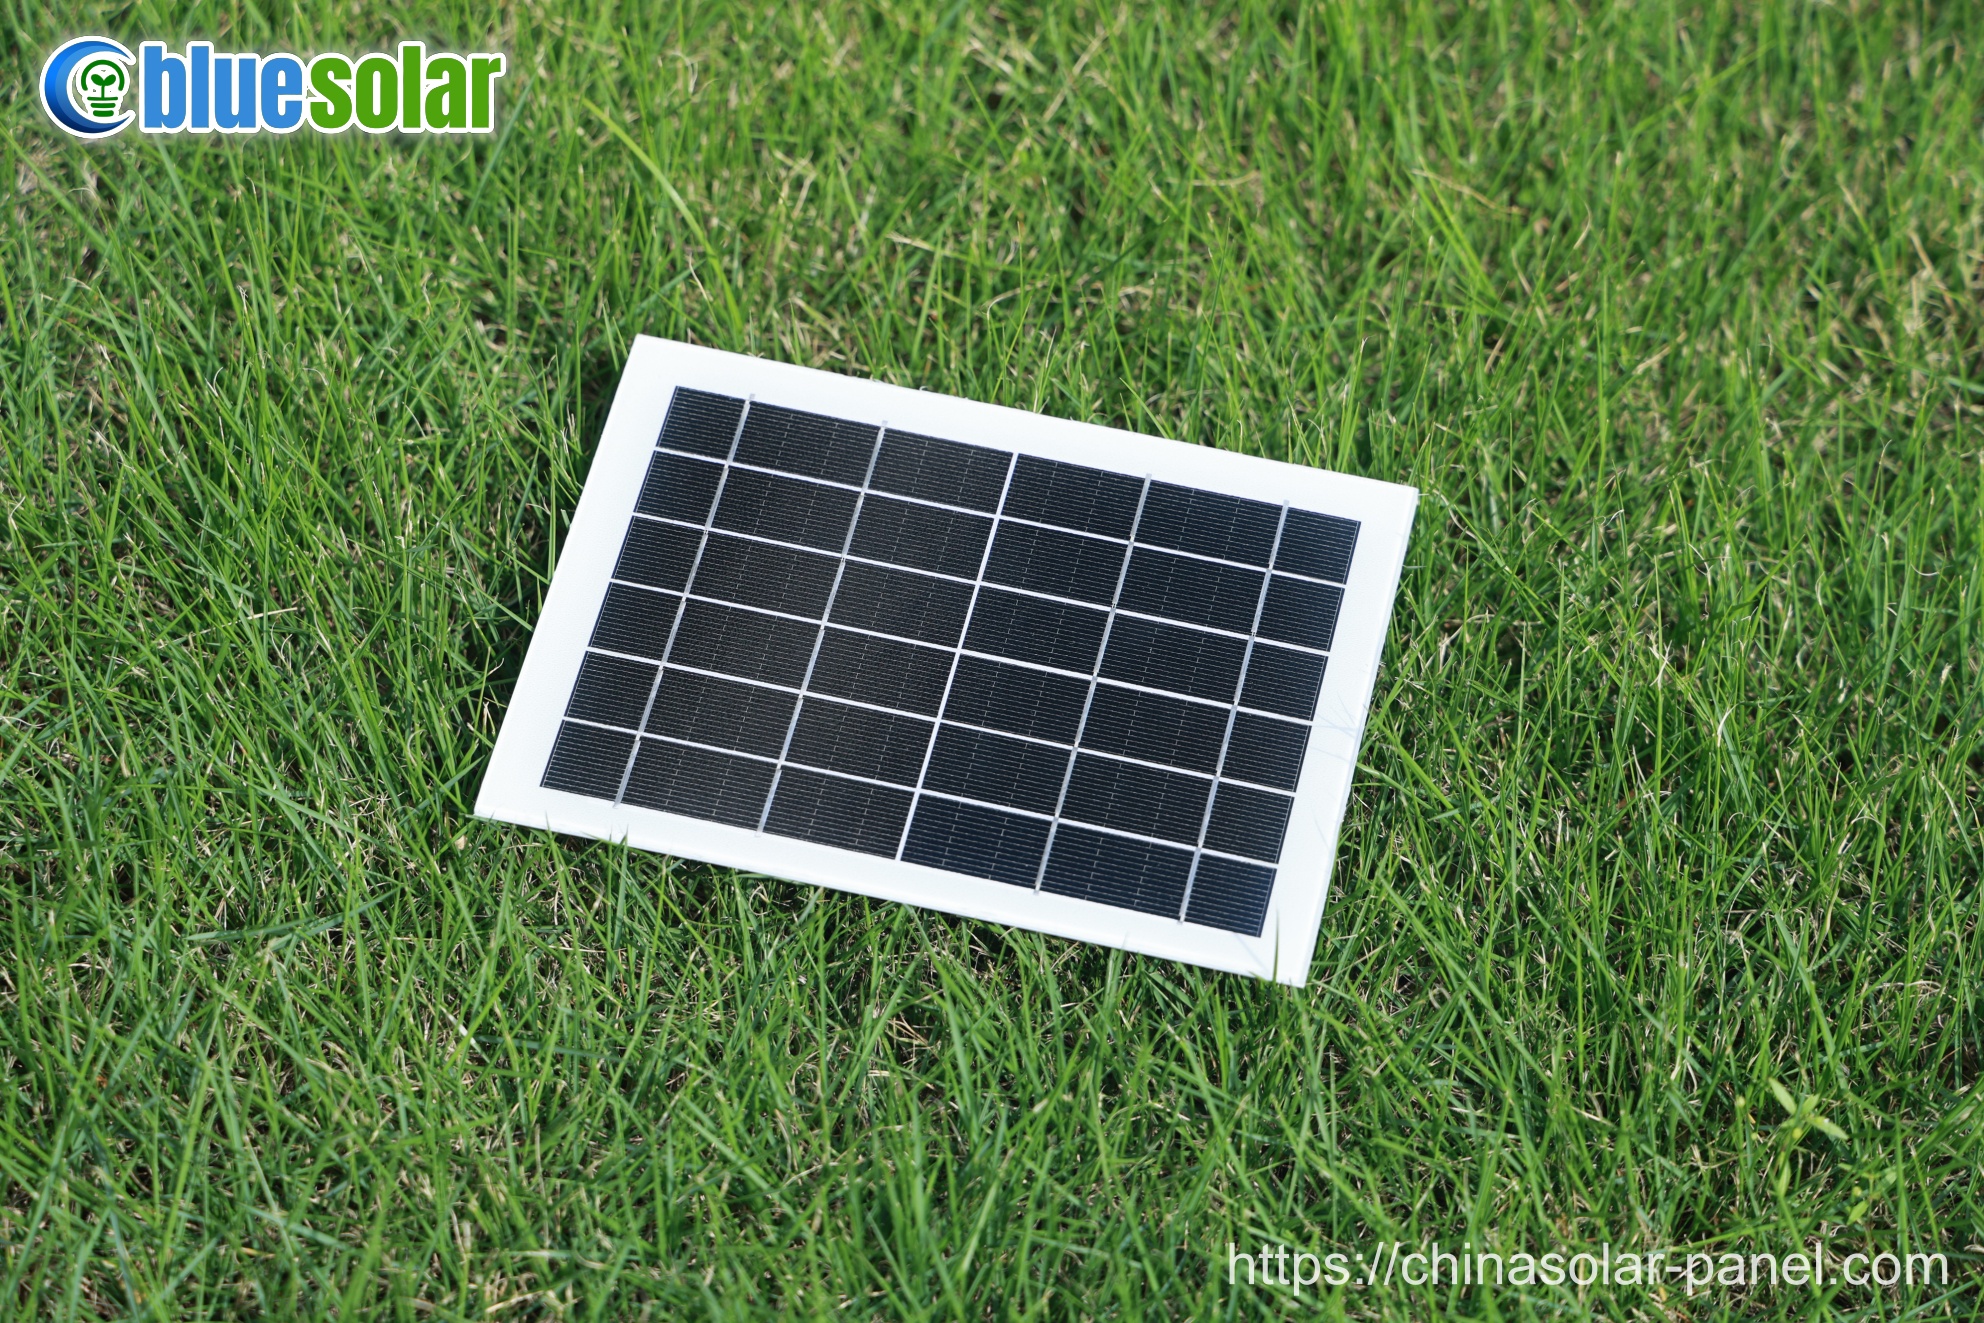
Solar photovoltaic modules, also known as solar panels, are the essential component in the solar power generation system. It’s fascinating to learn how they convert solar energy into electrical energy through the photoelectric effect.

A single solar cell cannot be used directly as a power source. It requires multiple cells to be connected in series, parallel and tightly sealed into solar modules.
The production process of solar photovoltaic modules can be divided into: solar cell inspection, front welding – inspection, back series connection – inspection, laying (glass cleaning, material cutting, laying), lamination, deburring (edging, cleaning), assembly frame, welding junction box, solar panel testing – appearance inspection, packaging and warehousing.
1.Solar cell testing.
Solar cell testing is crucial in ensuring the quality and efficiency of solar modules. Given the variability in production conditions, the performance of produced solar cells can differ significantly. To address this, solar cells can be classified based on their performance parameters, such as current and voltage, to effectively combine cells with consistent or similar performance. This allows for improved utilization rates and the creation of modules with qualified quality.
2. Front welding: The bus bar is welded to the main grid line on the front side of the solar cell (negative electrode). The bus bar is a tin-plated copper strip. The welding machine we use can spot weld the solder strip to the main grid in a multi-point manner. The heat source used for welding is an infrared lamp (using the heating effect of infrared rays). The length of the welding ribbon is approximately twice the side length of the solar cell. The extra solder ribbon is connected to the back electrode of the subsequent solar cell piece during back welding.
3. Backside series connection: Backside welding is to connect solar cells in series to form a solar cell string. The operator uses a soldering iron and solder wire to solder the front electrode (negative electrode) of the “front solar cell” to the back electrode (positive electrode) of the “back solar cell”, connect solar cells together in series and weld leads to the positive and negative electrodes of the solar cell module string.
4. Laminated laying: After the back side is connected in series and passed the inspection, the solar cell strings, glass and cut EVA, backsheet are laid according to certain levels and prepared for lamination. When laying, ensure the relative position of the solar cell string and glass and other materials, and adjust the distance between solar cells to lay a solid foundation for lamination. (Laying level: from bottom to top: glass, EVA, solar cell, EVA, backsheet).
5. Solar panel lamination: Put the laid solar cell into the laminator, extract the air from the solar panel by vacuuming, then heat to melt the EVA and bond the solar cell, glass and backsheet together; finally, cool and remove the component. The lamination process is a key step in solar panel production. The lamination temperature and lamination time are determined by the properties of EVA. When we use fast-cure EVA, the lamination cycle time is about 25 minutes. The curing temperature is 150°C.
6. Trimming: Remove burrs formed during lamination by trimming the EVA after lamination.
7. Framing: Add aluminum frames to your solar panels for increased strength and extended service life. Fill gaps with silicone resin and connect each frame with angle keys.
8. Welding junction box: Facilitate the connection between solar cells and other equipment or panels by welding a junction box at the lead on the back of the solar panel.
9. Solar panel testing: Calibrate the output power and quality level of the solar panel by conducting thorough testing.


